Monday, December 23, 2013

Kurumilagu Pickle | Pickled Green Peppercorns


Fresh green peppercorns are in season now. Pickle them and it can last till next season. The recipe is uber simple but the resulting pickle is so good . We even snack on them. Don't hesitate to buy when you spot them in a market. Peppercorns are mean't to contain numerous medicinal benefits and thats one another reason for you to pick this wondrous spice.
Apart from its use as a pickle for curd rice, I even use them in salads, Pastas etc.

You will need:
250 gms of Peppercorns
30 Lemons/limes
1/2 Cup Vinegar
1 liter of water
1 Cup of Rock salt
1 tsp Turmeric powder
A clean Glass Jar or Ceramic Jar


Procedure

1. Wash the peppercorns well to clean off any dirt in them

2. Boil a liter of water with half cup vinegar , turmeric powder and 2 tbsp of salt.

3. After the mixture has boiled, let it rest for a while to cool down completely.

4. Add the peppercorn into the mixture and soak for 5 minutes. If there are any tiny insects sticking to the stalk of the peppercorn, they come off easily floating in the liquid. Strain the liquid and wash once again.


5. Pat dry the peppercorns. Clean and cut the limes lengthwise as shown in picture (cutting in lengthwise helps to get rid of the bitterness when we squeeze out the juice) Discard the seeds as much as possible. Squeeze the juice from lime wedges. Reserve some wedges of lime to preserve along with the peppercorns.

6. In a clean jar, add about 2 tbsp of salt and drop in few peppercorns and lime wedges. Pour some juice. Repeat by adding another tbsp of salt, few peppercorns and juice until you are done with all peppercorns and salt. Make sure to pour all the lime juice in.

5. Cover the bottle and rest for a week. Mix the mixture once in a day to ensure they soak evenly. The pickle is ready to enjoy after a week's time.


Note: The mixture may not be completely covered with the juice of lime. Thats fine. The mixture begins to leave some water in the forth coming days.

Saturday, December 21, 2013

Masala Kuzhambu


Weekend lunches are meant to be special and doze-inducing for us. Either we indulge ourselves in a rich restaurant Biryani or cook a lavish meal at home. As we don't cook meat at home, I compensate the menu with some masala rich, spicy foods. The use of poppy seeds makes this dish a mild sedative. Masaal Kuzhambu easily frequents into our sunday lunches. It tastes much like a hybrid of Kurma and Sambar. 
The key flavor profile of this dish comes from the use of 'Kalpaasi/black stone flower' and 'Fennel seeds/Sombu'.


Kal Paasi
  You will need:
1 Drum Stick
3-4 Brinjals (Small sized)
1 Cup Pearl onions, peeled
5 Garlic pods, peeled
Tamarind, gooseberry sized (soaked and extracted to 3 cups)
1 tbsp Poppy seeds, soaked in 1/4 cup warm water for 15 minutes
2 tbsp coconut, grated
A small piece of jaggery/ 1 tsp sugar
1 tsp Fennel seeds/saunf/sombu
1 tbsp Sambar powder
Salt to taste

To temper
2 tbsp Gingely(Sesame) oil
1 tsp mustard seeds
A pinch of Asafetida /hing
1 inch piece of cassia bark (Pattai in Tamil)
1/4 tsp fenugreek seeds
1 clove
1/2 tsp Kal paasi 
2 sprigs of curry leaves

Procedure:


1. Finely chop the pearl onions. Cut the drumstick and brinjal in equal sizes.


2. Heat oil in a kadai, add mustard seeds, hing, cassia bark, fenugreek and Kal paasi. Let the whole spices crackle. Add the curry leaves, garlic and chopped onions


3. Fry until the onions are cooked. Add the cut vegetables and fry for few minutes.


4. Pour the tamarind extract. Add sambar powder and salt.


5. Grind together, fennel seeds, coconut and poppy seeds into a fine paste


6. Add this paste into the bubbling kuzhambu. Mix well and taste the kuzhambu at this stage. Add  more salt and jaggery/sugar as per taste. Let the gravy simmer for 8-10 minutes or till the drum sticks are tender.


Serve with steaming rice, poriyal and Appalam!


Sweet Appam | Neiappam | Inippu Paniyaram


Neiappam or Inippu Paniyaram with Bananas is an Indian equivalent to Banana Muffin. This easy recipe makes for an addictive snack. If you have over ripe bananas just stock up in your freezer . They sure come to rescue when you have to entertain some guests.
This recipe is gluten-free. Vegans can discard ghee and use coconut oil instead.

You will need:
4-5 Ripe bananas
1 Cup raw rice ,soaked for 2 hours
1/2 Cup Palm Sugar or Jaggery
A pinch of salt
2 pods of green Cardamom
2 tbsp of grated coconut
1/2 cup of ghee


Procedure:

1. Grind the rice into a paste with a little water. Add the coarsely mashed bananas to the rice paste and grind once to get it all well incorporated.

2. Dissolve Jaggery or palm sugar in 1/4 cup of boiling water. Strain for any impurities


3. Pour the dissolved jaggery/palm sugar into the rice batter. Pound the Cardamom seeds and add them along with the grated coconut into the mixture.Mix well.


4. Heat up an appam pan/ paniyaram kal / aebleskiver pan. Add about a tsp of ghee in the individual slots. Gently drop the appam batter in each slot ,filling just below the brim.


5. Cover and cook for about couple of minutes. Using a fork/skewer turn the appams and add another tsp of ghee. Remove once they are golden brown and crisp. Serve immediately.


Monday, November 25, 2013

A Malnad getaway

We took a weeklong road trip to several places in Malnad. Its one of the best trips I have made so far as it got more special when it turned out to be my birthday surprise. yayaayayy!
Malnad is covered in vivid green swathes of land, soothing water bodies and hundreds of interesting homestays. Having chosen to travel this time of the year(late august-early september), is ideal for it has got the lovely weather.
On our driveway
The most loved thing about this trip was driving through these roads.


We spotted king cobras, some white ibis and a bison. We began our journey very early in the morning and first headed to Chickmagalur, the coffee district that is set at a height of 3400 ft. This district is home to thousands of coffee plantations and this place is where the much loved coffee beverage is first introduced to India. Baba Budan, a sufi mystic from Yemen came to India with eleven coffee beans and settled in a cave in Chandra Drona Parvatha (which is now called Baba Budanagiri hills) . The first coffee bean was sowed by Baba Budan ,later during the British rule the coffee plantations were developed in vast expanses.

Chickmagalur (meaning 'The Younger daughter's City') is a dowry given by a local Chieftian Rukmangada Raya of Sakerpatna. Somewhere nearby, there is also Hiremangalur  , which is the dowry given to the elder daughter.


The Hidden Valley Homestay


Lakeview from our room


View of the cottage from the boat

We stayed in a rustic looking 'The Hidden Valley Homestay' near Chickmagalur. The stay was splendid by all means. The cottage is beautifully placed in the midst of a 30 acre coffee plantation. We had our room facing the serene manmade lake.


Feeding these creatures some breakfast


Ahhh..the swing..
Be it waking up to roosters crow or watching the ducks and geese floating in the lake -the ambiance of this place sure puts one in perfect happiness.


Early Morning Trekking

Pepper Vine climbing on Silver Oak tree. The leaves look similar to Betel leaves.


Green Cardamon- Just plucked from the plant. Back home flavored payasam with these fresh ones. 


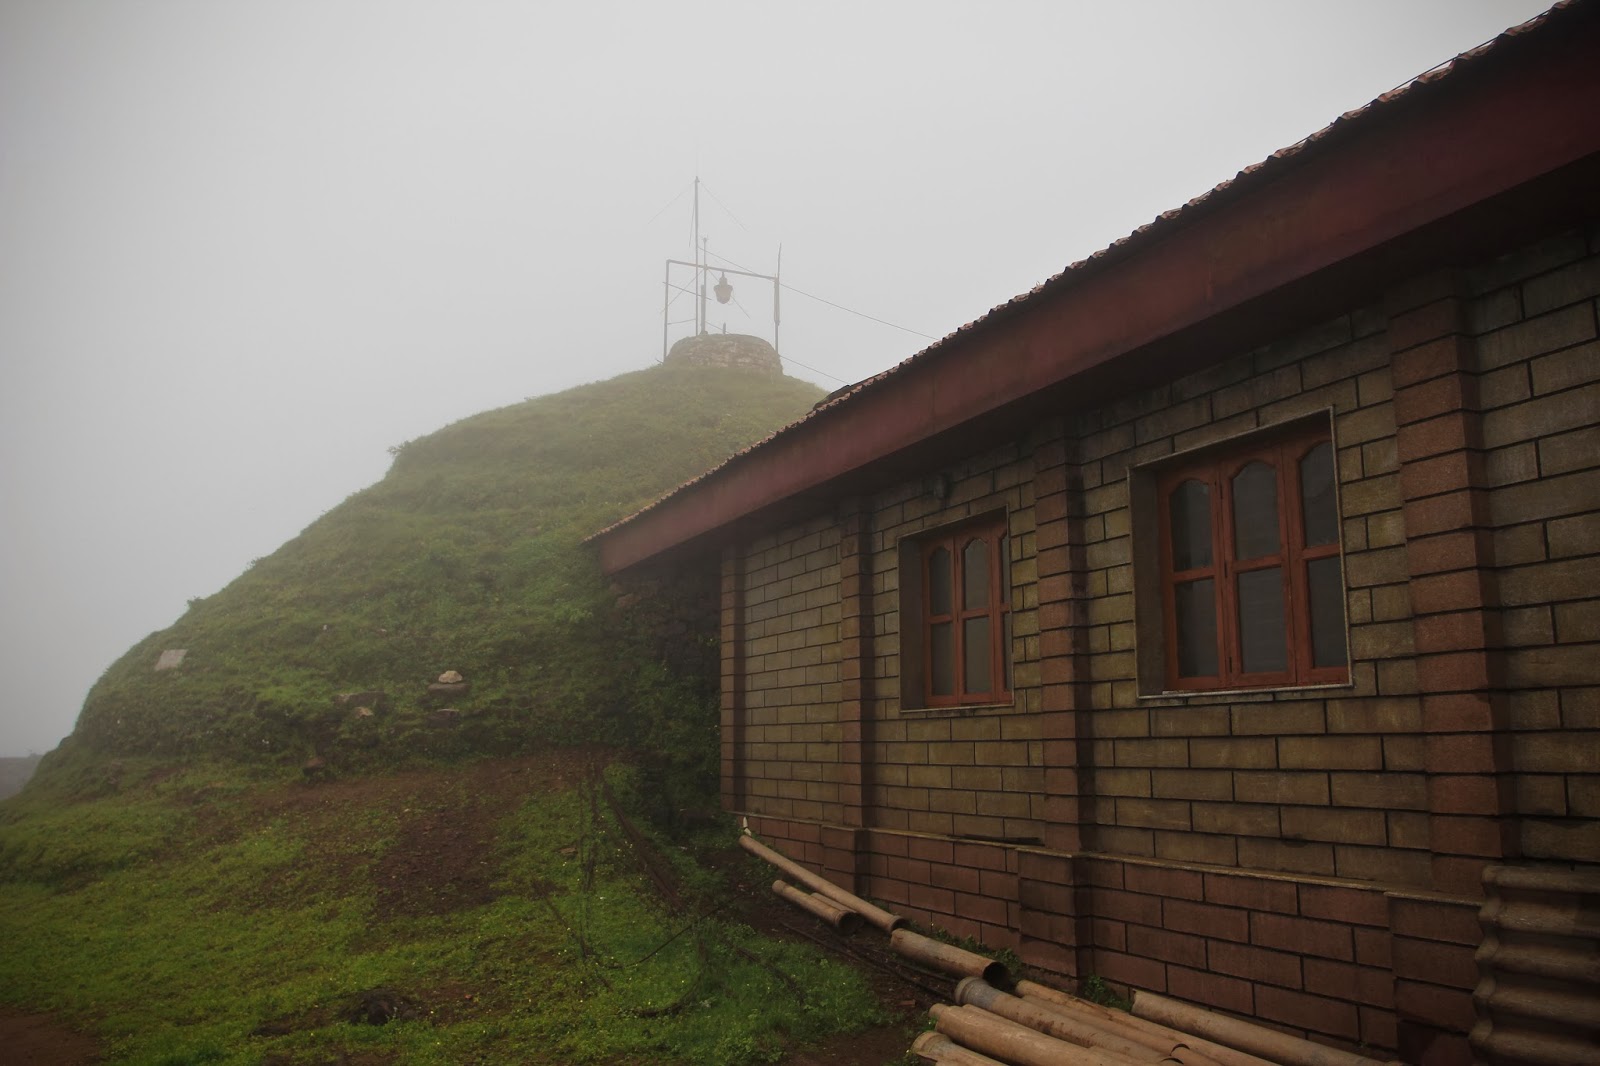
Temple in Mullaiyanagiri peak point 

On our 3 days halt there, we visited several places nearby-Shankar Falls, Mullaiyanagiri peak point, Coffee Museum, and the Serai. Mullaiyanagiri is at the height of 6322 ft and is the Karanataka's highest peak. Driving up there was so daring and risky as the roads got narrower and bumpy as we climbed up. There is this ancient Mullapaswamy temple (for lord Shiva), which can been seen after climbing 400 steps from the top of the hill. The whole spot is covered in a thick veil of mist and drizzle. It put me to wonder how the priest with his family living there with nothing but the temple and sky above. We were told that during the summer, 'the Sunrise' view is spectacular. From there, we headed to the city of Chickmagalur and did our Coffee and Spice shopping in Panduranga Coffee works.


Butter Masala Dosa | Gulab Jamun | Filter Coffee


Don't miss the Town Canteen
Followed by that, we visited the much loved 'Town Canteen'. I tell you, I can visit Chickmagalur just for their  Gulab Jamuns(they are the best,could smell the rosa damesca!) and Butter Masala Dosa. Though the filter coffee was not up to my expectations.


Cafe Coffee Day's Serai Resort

We visited Coffee Museum that is operated by the Coffee Board of India. It was interesting to learn the 'bean to brew process' and various types of coffee in existence. Later in the evening we decided to check out the Serai resort, owned by the Cafe Coffee day. It had so many villas with built in pools and is a perfect spot for lazy honeymooners. We just had coffee at their coffee shop and had some views of the great property.


Kolavera Heritage Homestay


Insdie Kolavera Homestay


Lovely isn't it?


The next day, we left Chickmagalur and headed to Kolavara Homestay in Shimoga district located near Thirthahalli. And this place is even better. To experience the true Malnad , one must choose to stay in Kolavera Homestay.


Areca nut and betel leaves
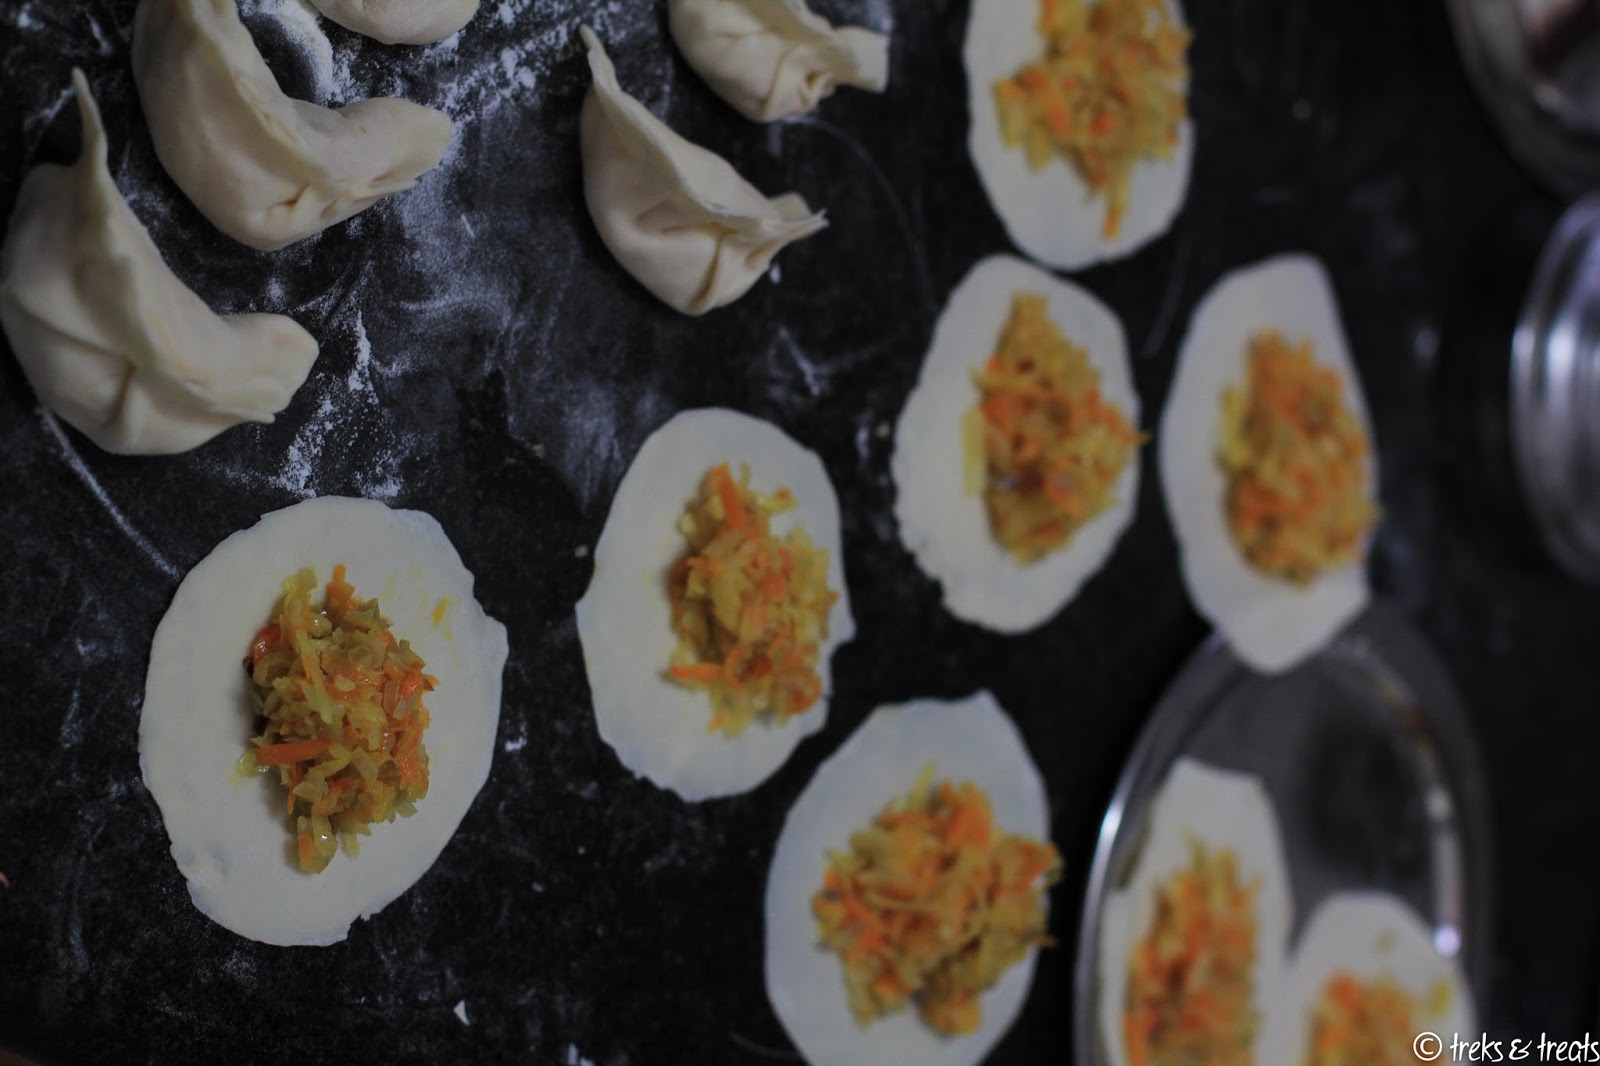
I could never find one fault with them. Be it the rich and delicious Malnad food or the comfy ,traditional rooms - I just couldn't leave the place! Kolavera is an 100 year old ancestral property that has this huge villa set amidst a areca nut plantation. You can find a mini waterfalls and a large lake in between their plantation.


Waterfalls in Kolavera


Kolavera Home -backside view

The rooms are kept sparkling clean and the exemplary hosts made you really 'feel at home' :). If one is for homemade wines, they get to purchase one from their interesting choice of wines- Arecanut wine, Jackfruit wine, Pineapple wine and even Mango wine. Food was not only delicious and had variety but they are of great quality. When planning a trip to this region of Karantaka, do yourself a favor and choose to stay in this place!


Kolavera Rubber Plantation


Sri Sharadamba Temple, Shringeri

While our stay in Kolavera, we visited the famous 'Sri Sharadamba temple' in Shringeri. Its a 8th century temple, founded by Sri Adi Shankarachariya. The idol of Sharambamba is made of Sandalwood. It is said that Adi Shankarachariya was walking by the river Tunga and found a Cobra with its hood giving shelter to a frog. Instantly, he felt this place has the power to break hostility that goes beyond natural instincts. He decided to stay here and later established this temple.

Sirimane Waterfalls

About 10 Kms from Shringeri, is the Sirimane waterfalls. People usually visit the temple by morning 10am-11am and finish the lunch and would flock to the waterfalls by around 12ish time. So to skip that crowd, one can plan like we did, be there at waterfalls by around 11am. There are changing rooms and the place is pretty safe and well maintained. 'Must come back again'- we said to ourselves.


A View from Kundadri Hill Top


Jain Temple in Kundadri Hills

 From there we headed to Kundadri hills, climbing up the hill took us about 20 minutes. The roads are so narrow and steep. The entire drive was on first gear- so you can imagine! But once we reach the spot, we were taken by awe. There is a 3000 years old Buddha temple with a 80 feet deep pond adjacent to it. Something was there about the place which give one a mystical feeling. The elevation, the pond and the ancient temple structure -altogether it was a surreal experience.


Jog Falls
The next day, we vacated our room and left to Jog falls. Created by Sharavathi River , they fall from a height of 830ft . Based on their flow, the four distinct falls are named Raja, Roarer, Rocket and Rani. The place is so crowded and we hired a guide (who was helpful in taking the crew for the 'Kumki' movie shooting). He was bit over-enthusiastic about us speaking Tamil and had to talk more about the Kumki movie making than the Waterfalls itself :P Anyways, we didn't love this place as much as we did the others. Of course the , view of the mammoth falls was a wow factor but the place itself was very touristy. The drive up and down the hill was spectacular. The pineapple sold in this region tastes super sweet and we end up buying some for home.

Jog Falls happened to be our final destination in this weeklong trip. We enjoyed to our heart's content and drove back home as fast as we could. Though the places were amazing, we were tired and started missing home. It was pouring and the darkness set in. The roads were bad and after 8 hours of driving we're finally back home just past midnight.

Thursday, August 29, 2013

Vegetarian Momo/Dim sum | A step-by-step guide to folding Momo


Vegetarian momo easily tops the list of my favorite finger foods. It is light, flavor-packed and never boring! The serving portion that I get from a momo stall is too small for the price I pay for,so I taught myself to make it at home. The filling for the momo can be varied. I have used many variations by adding crumbled paneer, radishes, carrots, onions, soy granules, etc. One can also used minced meat. So whatever you feel can do justice to the momos can be added in :) 
In this recipe, I have used cabbages, carrots and radishes. It is sautéed for few minutes until the liquid is all dried up. But I learnt recently that, when the fillings are used uncooked, then you end with more juicy momos. Also working with minced meat as filling is lot easier than with vegetables. Sautéed vegetables binds well as  cooking softens them.

Preparation time: 1 hour 20 mintues
Cooking time : 15 minutes
Makes : 25-30 Momos

Ingredients:

For the momo wrappers
2 Cups of plain flour/Maida
A big pinch of salt
2 tsp of oil
Water for kneading

For the filling
1/2 of one big head of cabbage, grated
1 raddish, grated
2 medium sized carrot, grated
1 small inch piece of ginger, grated
1/2 tbsp of oil
Salt and Pepper to taste

1. In a large mixing bowl, combine flour , salt and oil. Mix thoroughly. Add water little by little and knead the dough to a smooth ball.
TIP: Knead the dough continously for 5-7 minutes. This helps to stretch the gluten in the flour and you get smooth wrappers. This step is very important as the final outcome lies in the quality of the wrapper. The wrapper should feel smooth and elastic.
Cover and let the dough rest for a while.


2. In a pan, heat oil and add the grated vegetables and ginger. Add salt and pepper. Cook the liquid from the vegetable have gone dry.
TIP: For juicer momos, you can avoid sautéing the filling. Just mix together all the grated vegetables with the oil and seasoning and use as such.

3. Divide the dough into two equal portions. Roll each portion between the palms to make a even log. Using a knife, cut 15 equal portions from each log of dough. 


4. Dust the dough ball in some dry flour/maida and roll it into a thin disc (about the size of your palm) Make sure the edges of the disc are thinner compared to the middle.
TIP: Use a moist cloth to cover the dough while working. Make sure the discs are also kept covered to prevent from drying(you could use a old magazine) If the rolled discs are stacked one over the other, ensure it is dusted with dry flour/maida to prevent from sticking to each other.


5. Take one of the discs, and spoon in the filling mixture in the middle portion. Ensure you leave quarter inch gap from the mixture to the edges for sealing the wrapper. Gather the two sides of the disc and pinch in the middle. Pinch the end of right side of the momo as shown in pic 1 of the collage below. You can see a rabbit ear shape sticking out, press down to the seam as shown in pic 2 of the collage. Now repeat the same on the left side of the momo.  The finished one will look like a half moon. 


6. In a steamer/Idli cooker, pour required water and let it come to a boil. Grease the steaming plate with some oil and arrange the momos. Place it inside the steamer and cook for about 15 minutes. There you have it..steaming hot momos!


You can complement this mellow momos with this fiery Tibetan chutney.

Tibetan Hot Chutney 


Ingredients:
10 dried red chillies (if using the low heat variety, else 5 will do)
1 tomato, chopped
2 cloves of garlic
1 inch piece of ginger
1 tbsp vinegar/ lime juice
A pinch of sugar
salt to taste


1. Soak the red chillies in some water for an hour.
2. Strain the water and puree the soaked chillies with tomatoes, garlic, ginger, salt and vinegar.
3. Add a tbsp of water to aid blending. Check for salt and you are done.


 You see, the pleats that was painstakingly created while sealing the momo is all worth it--when you dunk one into the chutney, the pleats beautifully collects the saucey goodness!